

Revised 06/26/2026
Payments to Vendors are made through the Purchase Invoices in Business Central. Purchase Invoices are used to log non-grant expenses such as utility bills and other accounts payable. This article serves as a quick walkthrough on creating and viewing Purchase Invoices.
Create a Purchase Invoice
Step 1: Add a New Invoice
In Business Central, choose +Purchase Invoice from the Actions menu on the home screen to start a new purchase invoice.
Optionally, choose Expenses > Purchase Invoices. You will be taken to a list of unposted purchase invoices and will have the option to start a new one or work on an old one. This Knowledge Article covers creating from new.
Click +New. The new purchase invoice form will open.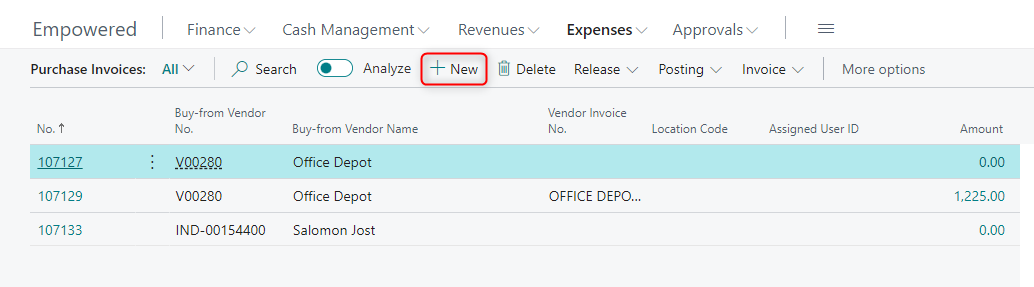
Step 2: Fill in the Form
The purchase invoice form comprises three sections: General, Detail Lines, and Invoice Details.
GENERAL:
- Vendor Name: Required field, choose an existing vendor. If the vendor does not yet exist, you must create it in akoyaGO CRM and convert it to a vendor by setting the Is Vendor field to YES. For more information on setting up new vendors, reference Force Sync to BC for Vendors; Constituents & Contacts Entered in akoyaGO Only Paid through Purchase Invoices.
- Vendor Invoice No.: Required field, this is the number on the original document you received from the vendor.
- Posting Date: date the transaction will be recorded
- Posting Description: description that will be captured on the accrual/payable entry for the invoice
- Due Date: date the invoice is due
DETAIL LINES: These lines will not unlock until the Vendor Name and Vendor Invoice No. contain data. Add lines to the appropriate expense account (5XXX).
- Type: This will default to G/L Account
- No.: Required, choose the G/L Account number
- Description/Comment: Required, will autofill with the name of the chosen G/L Account. The content of this field will be ignored in the general ledger expense lines in favor of the Posting Description field.
- Posting Description: an alternative description; if this field contains data, it will flow to G/L entries (and to subsequent reports). If it does not contain data, the description/comment field will be used.
- Memo: will set the akoyaGO memo field, commonly used on reports such as the Fund Statement.
- Fund: choose the fund that will pay the invoice
- Department: will autofill with the department assigned to the chosen fund
- Function: optionally, choose the function as determined by the Functions table in akoyaGO CRM
- Amount Excl. Tax: amount of the invoice before taxes
You can close this purchase invoice and come back to it later, or if you are satisfied, you can post the purchase invoice
Important: Each field has a descriptive tooltip! If you need help determining what should go in a field, hover over the field name to read the tooltip.
Step 3: Post
Click the Posting menu option, then choose Post to post this purchase invoice to the G/L.
View Posted Purchase Invoices
Once an invoice is posted, it is removed from the Purchase Invoices list and can be found under the Posted Purchase Invoices list.
From this list, users can see the Vendor, Amount, Due Date, and Remaining Balance of the posted purchase invoices. Users can also Cancel or Correct an invoice from this screen.
Important: Invoices with lines applied to more than one dimension set (combination of fund/department/function) are automatically split upon posting. When this occurs, one invoice is designated as the Parent Invoice, and all others are grouped under that parent. Additionally, the Vendor Invoice No. for the child invoices is aliased (e.g., 2)
G/L Entries
When a purchase invoice is posted, the general ledger will reflect the debited expense detail (the invoice "lines") and the credited accrual account (typically a 2XXX).
Notice that the content in the Description column of the expense line is set from the Posting Description of the purchase invoice lines, and the Description of the accrual line is set from the Posting Description in the invoice header.