v 2.1 ; 5/28/23
![]()
editing system views
System views are default views that come as part of the akoyaGO software. Editing system views cannot be done from within the akoyaGO application. As this guide will show, system views can be edited in Power Apps.
Please note once you edit an out of the box system view, it will be recognized as a custom view. If there are changes to a system view included in an akoyaGO release and you have edited the view, you will not receive those changes.
navigating to views in powerapps
To access Power Apps, click the waffle in the top corner of akoyaGO Power Apps, or open a new window in your browser and go to www.make.powerapps.com.
Before navigating further, you will need to ensure that you are in the correct environment.
In the upper right-hand area of the screen:
- Click on the Environment name. A list of all associated environments will appear.
- Choose the “Production” environment, not the Default
You can be certain of which option to select by hovering your cursor over the title.
The correct selection will show the Environment Type as “Production.”
Searching for Tables
From the Home page:
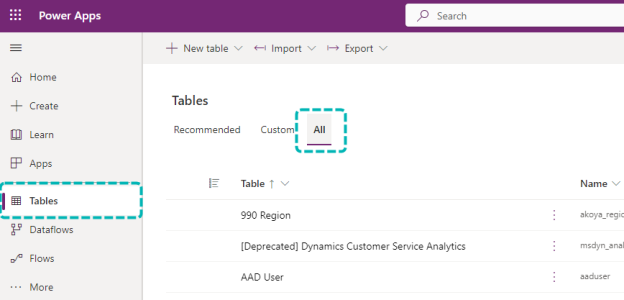
- Select Tables from the left-hand side menu
- Click on “All” Tables
- Scroll until the necessary table is found -or- Use the upper-right Search option for quicker results

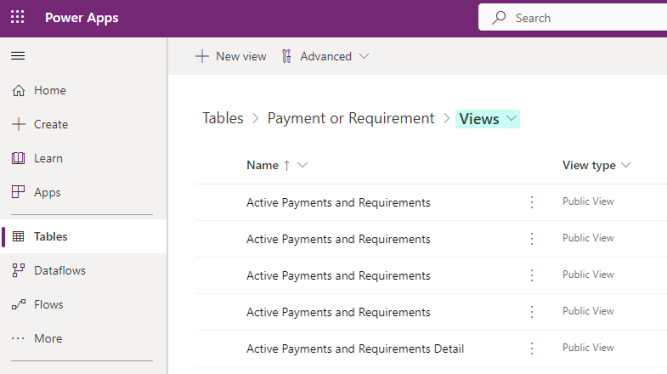
Once in the menu of the selected Table, click on the Views link shown below

editing system views
A full list of views will be listed. Select the view needing changes.
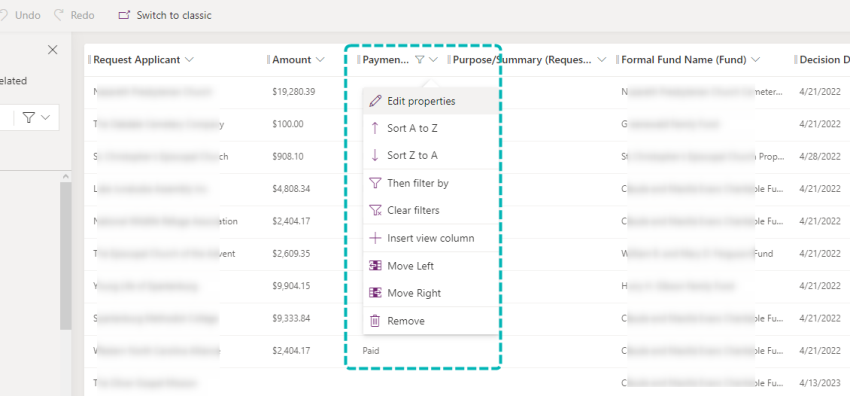
Within the following page you will have several options available for editing.
On this view example below, you can see that there are already two filters in place. You can choose to delete them &/or add more filters.
You also have the option to rearrange, delete, or change the width of chosen columns. This can be done by “drag and dropping” the columns, or by clicking on the drop-down menu for each column.
To add a new column, scroll to the left and click on + View column:
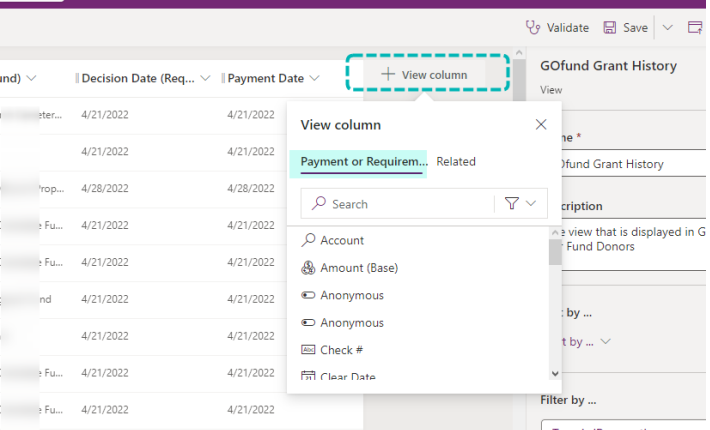
The options for the specific table will appear as a default. Chose the column type and add associated filters, if needed.
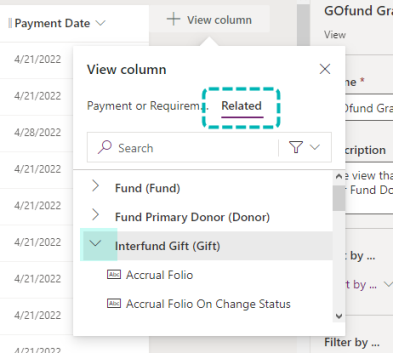
To add a column from a different entity:
- Click on the Related tab
- Search for the needed entity
- Use the dropdown to find the field you want as a column
Once you have finished editing the system view, you need to Save and Publish.
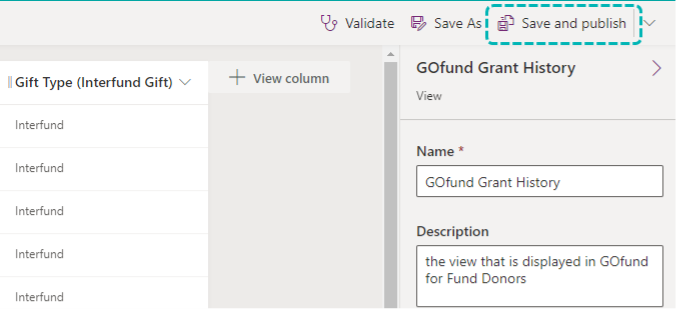
Note: The Save and publish can take up to two minutes to fully process. After the Publish finishes, you can safely exit the view editor.
To check on the status of your changes, refresh your browser window twice to reload the view.

